
Can I Replace an Old Sprinkler Controller With a Smart Controller?
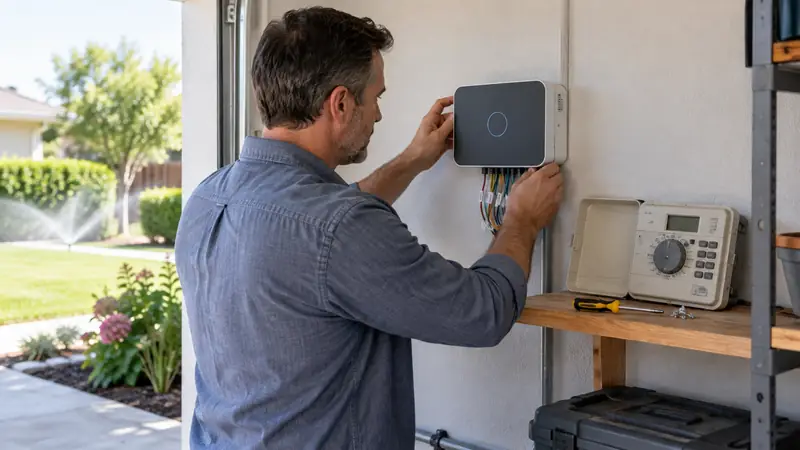
Can I replace an old sprinkler controller with a smart controller? In many homes, yes, without replacing the valves or buried zone wires. The swap still depends on the new unit matching the system’s electrical setup, station count, sensors, and any pump or master-valve wiring. “Smart” describes the controls and scheduling, not a universal wiring standard.
When the existing wiring and accessories are accounted for, the next step is finding a controller that fits them. Our guide to the best smart sprinkler controllers compares connected models by station capacity, local controls, and installation needs. Keep your valve and accessory list nearby as you compare the options.
What usually stays in place
A typical residential system has one field wire from each valve connected to a numbered station terminal, plus a shared common wire. If those conductors are in good condition and the valves use the type of output supported by the new controller, they can often be transferred. Rain Bird’s RC2 wiring instructions show the familiar station-and-common arrangement. Rachio’s installation guidance likewise treats controller replacement as a transfer of the existing zone wires, followed by setup and testing.
The sprinkler heads, valve boxes, and irrigation pipes normally do not need to change just because the timer does. The new controller sends a low-voltage signal to the existing valve circuit. It does not repair a stuck valve, damaged wire, clogged head, or a system that was already miswired.
Four checks before choosing a replacement
- Count the working stations. Count the valves or station wires actually in use, then leave room if you expect to add a garden bed or a separate drip zone. A controller with too few outputs cannot run every existing zone independently.
- Confirm valve and output type. Many residential controllers are built for 24-volt AC solenoids, but some battery-operated systems use DC latching solenoids. Those are not interchangeable by assumption. Check the valve label, old controller manual, and new controller specifications. Hunter’s valve reference notes that irrigation valves use electrical signals to activate their solenoids, and the controller’s own limits still matter.
- Inventory accessories. Look for separate wires going to a rain or freeze sensor, master valve, pump-start relay, or flow sensor. A replacement may have different terminals or configuration steps. A sensor that was wired to the old controller should not be left disconnected or bridged without understanding its role.
- Check the power arrangement and location. Some controllers use an external plug-in transformer. Others are designed for fixed electrical wiring or an outdoor enclosure. The new model must suit the existing outlet, enclosure, and installation location. Do not assume the old transformer can power a different controller.
What “compatible” should mean
Before ordering, compare the complete model numbers, not just the brand names. Verify the controller’s supported valve type and output, number of stations, sensor inputs, master-valve or pump-start support, and mounting or enclosure requirements. If you have a pump, confirm the controller is approved to operate its relay. The controller’s pump terminal does not power a pump motor directly.
Also consider the network. A smart controller may need 2.4 GHz Wi-Fi during setup, and remote changes or weather-based adjustments depend on the model’s app and connected service. That is separate from whether it can operate the existing valves. If the controller sits in a metal utility cabinet or far from the router, check signal strength where it will be mounted.
A careful replacement sequence
Run each existing zone before removing the old unit and note any problem that is already present. Turn off power at the source, then photograph the wiring and label each station conductor. Follow the new controller’s manual when mounting it and moving wires. Keep line-voltage connections separate from valve wiring. If the old unit is hardwired to household power, or you are uncertain which conductors are mains voltage, stop and use a qualified electrician.
Once the new controller is powered, configure the station names and schedules, then test every zone manually. Confirm that the correct area runs, the sensor or pump behaves as expected, and no valve remains open afterward. For app-based controllers, save the schedule to the device and check that the controller reports an online connection before relying on remote weather features.
When a simple swap is not enough
Plan for professional help if the old controller has undocumented splices, multiple valves sharing a station, a two-wire decoder system, unusual DC valves, or hardwired power. A damaged common wire can also make several zones fail even when the new controller is working. In those cases, identify the wiring and valve system first. Replacing the controller may still be the right upgrade, but the compatibility check comes before the purchase.
For a conventional residential system with labeled station wires and standard AC valves, a smart controller is often a controller-only upgrade. The reliable answer comes from matching the wiring and accessories you actually have, rather than assuming that every new model is a drop-in fit.

- Ryan
Ryan Mitchell covers sprinkler controllers, smart irrigation, and watering technology at Best Sprinkler Controllers, with a focus on clear comparisons, practical features, and helping homeowners choose the right setup for their yard.
- Best Irrigation Controllers With Rain Sensor Support November 4, 2026
- Best Sprinkler Controllers for Large Yards: 9 High-Capacity Picks November 2, 2026
- Best WaterSense Irrigation Controllers: 7 Certified Picks October 29, 2026
- Can I Replace an Old Sprinkler Controller With a Smart Controller? October 27, 2026
- Best Weather-Based Irrigation Controllers: 9 Smart Picks October 25, 2026